The girls continue to create all kinds of innovative art projects. On Tuesday morning, waiting out Clio's contagion before heading to school, they wanted to use the tempera paints. Because we only have the primary colors, we mix our own secondary colors on makeshift palettes. This morning I improvised and cut squares of cardboard. One thing led to another and suddenly the palettes were being pressed to the giant sheets of paper.
I explained about monoprints, and we cut many "plates" from cardboard so they could print more.
Eleri, in particular, was quite methodical about painting her plates.
Later, they put all the painted cardboard into plastic bags and drew them out one by one, asking me to tell them what I saw.
A sunset. A rainbow. A red planet. Hot lava cascading down a mountain. A giant chick hugging a girl. A forest fire. An oil spill in a puddle. A slice of a mask.
So many beautiful things.
Showing posts with label art. Show all posts
Thursday, June 7, 2012
Wednesday, July 6, 2011
Birthday Cake
I truly can't believe that it is July 6th: where have the days gone?
There are many, many things to catch up on here (will I ever truly be caught up? Doubtful!) But for now, there are important matters at hand, like birthdays. And cake.
For months, Clio has been saying that she wanted a tiered cake with a cupcake on top and an edible dolphin. Not at all specific, right? To be honest, I wasn't completely phased by this. The tiers, the cupcake, totally doable. And disappointment is part of life, isn't it, so I figured I would just toss one of those German figurines of a dolphin on top and say, oh, oops, that Dolphin's not edible. Silly me. I know, mother of the year, sitting right here.
Well, this weekend as we prepared to make said cake, we revisited the plans with Clio, and while she had been insisting on that dolphin for ages, she suddenly and inexplicably veered to something easier. Two layers (not tiers), cupcake, and a cherry on top. Oh, and hearts on the sides. It's possible that she has learned another important life lesson here: that reducing expectations also reduced potential dissapointment. Or maybe she just wanted to let me off the hook. At an rate, to be SURE we knew exactly what she wanted, we had her draw a picture. And then through discussion we arrived at that little inset drawing.
And here's the actual cake.
After sharing some cake with friends and family on the 4th, we enjoyed the cake a second time on Clio's actual birthday, in what is becoming something of a tradition. (I hope to put a candle in the final quarter on Saturday, for Eleri. I wonder if there will come a time when this practice bothers the girls, or if it will just be one of those weird things our family does.)
You may notice that the cake says "River." River is the son of my younger brother's friends, who joined us on the fourth. The 4th happened to be River's 4th birthday. When she learned of this, Clio suggested that we include him on the cake, which I thought was awfully sweet of her.
Want to know something weird? When I took these pictures (above), I got a strange sense of deja vu, and realized that Clio wore the EXACT same outfit on her birthday last year!
There are many, many things to catch up on here (will I ever truly be caught up? Doubtful!) But for now, there are important matters at hand, like birthdays. And cake.
For months, Clio has been saying that she wanted a tiered cake with a cupcake on top and an edible dolphin. Not at all specific, right? To be honest, I wasn't completely phased by this. The tiers, the cupcake, totally doable. And disappointment is part of life, isn't it, so I figured I would just toss one of those German figurines of a dolphin on top and say, oh, oops, that Dolphin's not edible. Silly me. I know, mother of the year, sitting right here.
Well, this weekend as we prepared to make said cake, we revisited the plans with Clio, and while she had been insisting on that dolphin for ages, she suddenly and inexplicably veered to something easier. Two layers (not tiers), cupcake, and a cherry on top. Oh, and hearts on the sides. It's possible that she has learned another important life lesson here: that reducing expectations also reduced potential dissapointment. Or maybe she just wanted to let me off the hook. At an rate, to be SURE we knew exactly what she wanted, we had her draw a picture. And then through discussion we arrived at that little inset drawing.
And here's the actual cake.
A pretty good likeness, I'll say.
And darn delicious, too.
After sharing some cake with friends and family on the 4th, we enjoyed the cake a second time on Clio's actual birthday, in what is becoming something of a tradition. (I hope to put a candle in the final quarter on Saturday, for Eleri. I wonder if there will come a time when this practice bothers the girls, or if it will just be one of those weird things our family does.)
You may notice that the cake says "River." River is the son of my younger brother's friends, who joined us on the fourth. The 4th happened to be River's 4th birthday. When she learned of this, Clio suggested that we include him on the cake, which I thought was awfully sweet of her.
Want to know something weird? When I took these pictures (above), I got a strange sense of deja vu, and realized that Clio wore the EXACT same outfit on her birthday last year!
What do you think, does she look a whole year older?
Her birthday letter is coming soon.
Thursday, May 5, 2011
Easter bunny sidewalk chalk
I wrote about the sidewalk chalk in my letter for easter.
These are the pictures.
Easter bunny shaped chalk, from the easter bunny
Making the dog for the neighbors, so they won't be sad if they lose one of theirs because they will still have this one.
The artist at work.
Making the alley that goes in a circle.
Covering ground!
Recent Projects
Wow, it feels GREAT to catch up on all this stuff we've been doing lately! This is bad blogging (no posts for weeks and then a tidal wave), but good family archiving, and I'll take it!
Dave seems to be scheduled for LOTS of evenings and pretty much every Saturday, then tends to schedule clients on Sundays, leaving the girls and I to our own devices. After the long winter, plus this strange balance of roles, I find myself needing someone else to supply some of the structure. And so we have been going places with activities.
In Boulder, I loved that our libary had great cultural activities, and that they communicated events really well. Here. we are part of a HUGE library system, and hunting down activities through them can be a bit of a daunting puzzle. But I recently found a cool after school event at one of the closer branches. Eleri was kind of just alon for the ride, but Clio got to make a book (which you may have noticed she loves to do.) The real focus of the event was making tin plates reminiscent of Mexican folk art.
Here's Clio's initial drawing
And here's the finished tin piece, as a cover plate on her (as yet blank) book.
This was a super easy project to set up, and really fun and different.
At the Children's Museum, we built a "Bird and Butterfly house" out of a cardboard box, colored masking tape, popsicle sticks, and other odds and ends.
Here is the sign to let butterflies know they should come in.
The museum also had their face painting station set up, and while Clio requested that I paint three stars on her face, Eleri went ahead and did her own.
Kind of a beard, really. (Oh, and that's the start of her "angry" face. She bares her teeth and clenches everything so hard she shakes. True story. She doesn't do this too often, if she did I might worry!)
We also have this book called Draw and Play All Day, and when I tidied up the bookshelves Clio rediscovered it. I got it at the Walker shop, and it's full of paper crafts and activities. I think it would be a great book for slightly older kids to tackle on their own, but Clio (and especially Eleri) needs quite a bit of help with it.
The other day, we made ornaments. Really this just means popping the shapes out of the book and gluing the two sides together, then threading a hanger through (we used pipe cleaners.) We braved a VERY cold and windy day to hang them on the tree in our backyard, but the wind had other ideas an ultimately we packed them up for another day.
We're keeping ourselves busy! And the weather is getting a bit more cooperative. Yesterday we hit the playground after school instead of some kind of indoor activity, and it's looking promising for today, too!
Dave seems to be scheduled for LOTS of evenings and pretty much every Saturday, then tends to schedule clients on Sundays, leaving the girls and I to our own devices. After the long winter, plus this strange balance of roles, I find myself needing someone else to supply some of the structure. And so we have been going places with activities.
In Boulder, I loved that our libary had great cultural activities, and that they communicated events really well. Here. we are part of a HUGE library system, and hunting down activities through them can be a bit of a daunting puzzle. But I recently found a cool after school event at one of the closer branches. Eleri was kind of just alon for the ride, but Clio got to make a book (which you may have noticed she loves to do.) The real focus of the event was making tin plates reminiscent of Mexican folk art.
Here's Clio's initial drawing
And here's the finished tin piece, as a cover plate on her (as yet blank) book.
This was a super easy project to set up, and really fun and different.
At the Children's Museum, we built a "Bird and Butterfly house" out of a cardboard box, colored masking tape, popsicle sticks, and other odds and ends.
Here is the sign to let butterflies know they should come in.
The museum also had their face painting station set up, and while Clio requested that I paint three stars on her face, Eleri went ahead and did her own.
Kind of a beard, really. (Oh, and that's the start of her "angry" face. She bares her teeth and clenches everything so hard she shakes. True story. She doesn't do this too often, if she did I might worry!)
We also have this book called Draw and Play All Day, and when I tidied up the bookshelves Clio rediscovered it. I got it at the Walker shop, and it's full of paper crafts and activities. I think it would be a great book for slightly older kids to tackle on their own, but Clio (and especially Eleri) needs quite a bit of help with it.
The other day, we made ornaments. Really this just means popping the shapes out of the book and gluing the two sides together, then threading a hanger through (we used pipe cleaners.) We braved a VERY cold and windy day to hang them on the tree in our backyard, but the wind had other ideas an ultimately we packed them up for another day.
We're keeping ourselves busy! And the weather is getting a bit more cooperative. Yesterday we hit the playground after school instead of some kind of indoor activity, and it's looking promising for today, too!
Wednesday, January 26, 2011
Clio Grace, Author
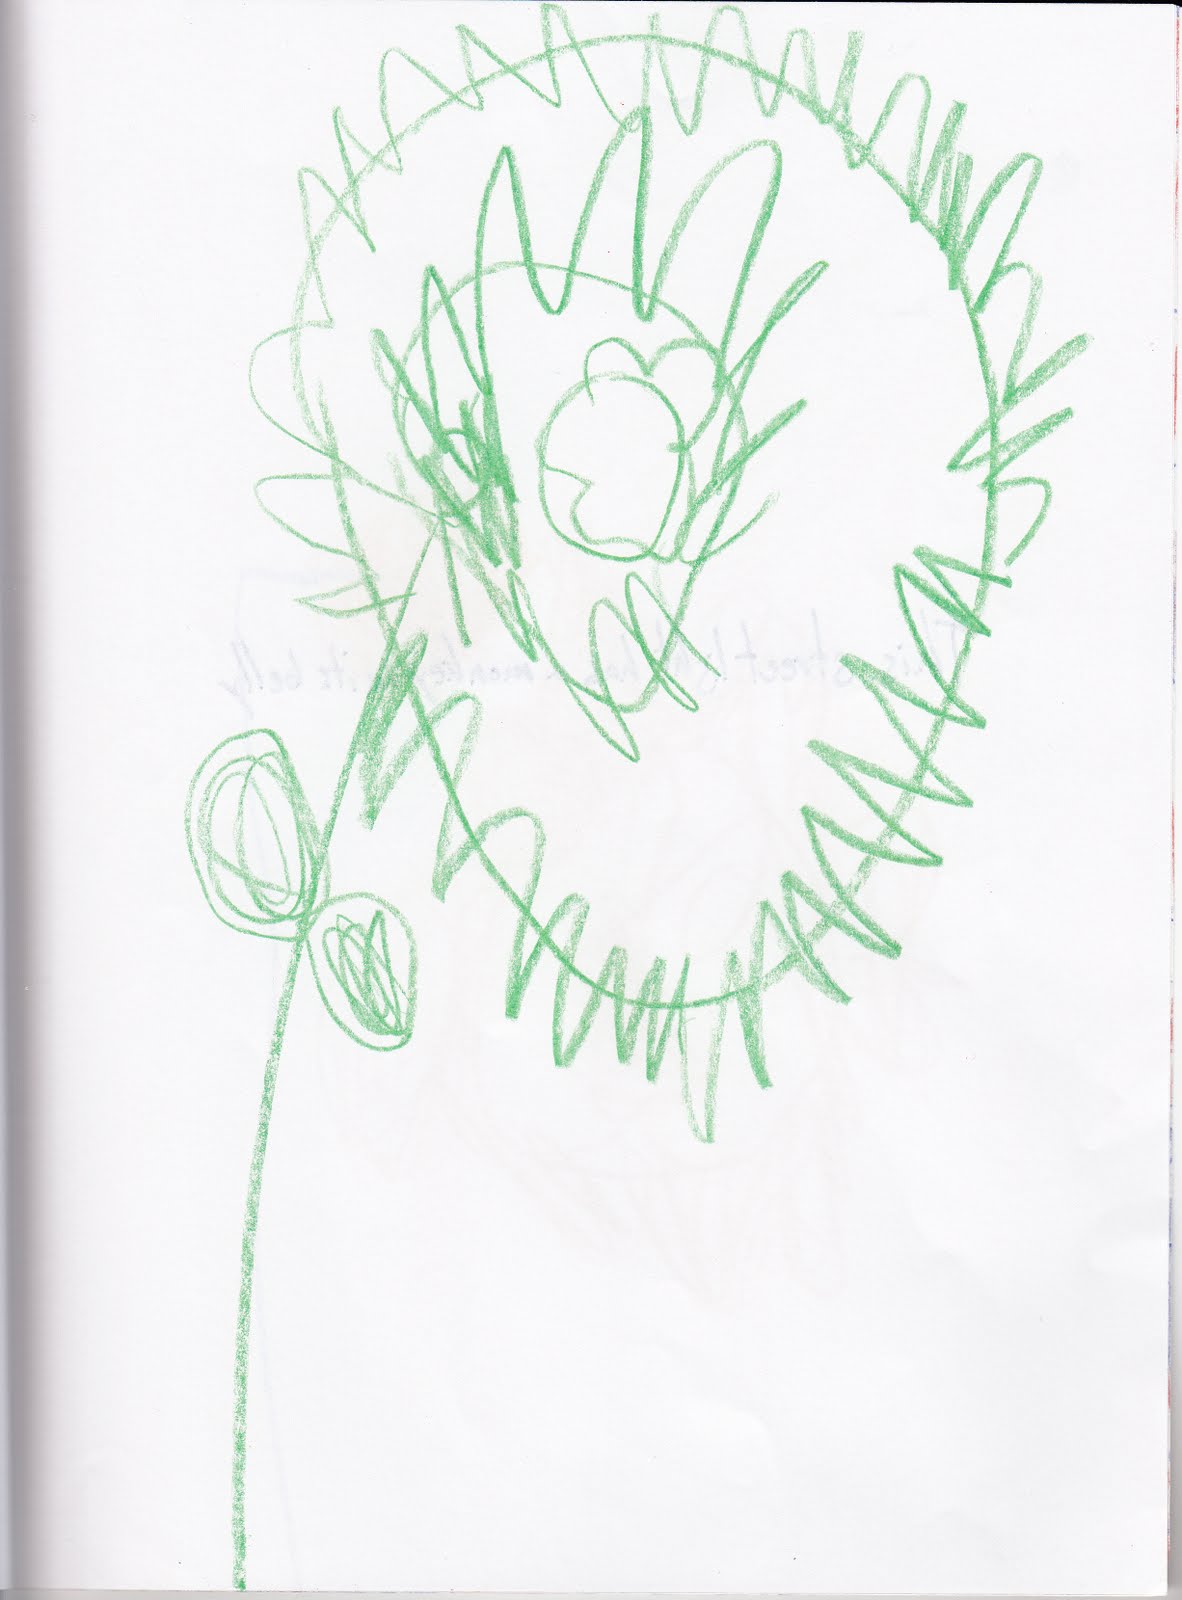
Clio has taken to making books. The process is pretty straightforward: Clio makes a bunch of related drawings, then puts them in order and dictates the words for each page, which a grown up writes down. Then she makes a cover, comes up with a title, and the whole thing is stapled together. Mostly this is a Daddy activity. I am delighted that I finally replaced our scanner (it broke while I was at the hospital birthing Clio, when a floating shelf came crashing down on top of it) so that I can share her artistry. Text for each page appears below the image.

I really love this flower because it has some silver in the middle. I really want this flower because I think it has underwear.

I really love this flower because it has some silver in the middle. I really want this flower because I think it has underwear.Thursday, November 11, 2010
Masks!
Since Dave's new job has been keeping him away for most of the girls' waking hours on weekends, I've had to get a little creative to keep them occupied and engaged, while keeping myself sane. This is actually a good thing: while it can be a good thing to give kids plenty of free time to do as they wish, I think we've gotten a little lay about providing activities in the house.
Last weekend, I suppose inspired by halloween, the girls made masks. I had a bunch of craft foam from when I thought we would make crowns for their princess birthday party in July (we made castle picture frames instead), so I just drew up some different shapes, let them choose a shape and color, made eye holes, then let them get to work decorating. I set out feathers, stickers, glitter glue, jewels, and cut shapes from glittery craft foam with an adhesive back. They LOVE using scissors and glue, and they're always looking for ways to use the jewels, so everyone was happy.

This is Eleri's in progress:

And his is Clio's finished product. Well, finished at the time. She went back and made some adjustments the next day.
Last weekend, I suppose inspired by halloween, the girls made masks. I had a bunch of craft foam from when I thought we would make crowns for their princess birthday party in July (we made castle picture frames instead), so I just drew up some different shapes, let them choose a shape and color, made eye holes, then let them get to work decorating. I set out feathers, stickers, glitter glue, jewels, and cut shapes from glittery craft foam with an adhesive back. They LOVE using scissors and glue, and they're always looking for ways to use the jewels, so everyone was happy.
And his is Clio's finished product. Well, finished at the time. She went back and made some adjustments the next day.
Monday, August 23, 2010
How to Hang an Art Wall
My first job out of college, I worked for a downtown boutique advertising agency, assisting, and then becoming, the Art Buyer, the person who works with the creative teams and finds the right photographer or illustrator to realize their vision for a print campaign. Photographers like to work editorial assignments for the artistic freedom and the recognition, but they like to do commercial shoots for the big budgets and better fees, so Art Buyers tend to become friends with photo agents and known to agencies. This is all a lot of background to say that when I was about 23, I got a call from Magnum, an elite agency representing the world's best photo journalists, asking to meet with me about hanging a show of Burt Glinn's work at the ad agency. The agent and the photographer came in with a collection of prints from his work in Cuba in the 1960s, and as we worked out a plan to arrange the work, I began to see clearly how a wall of art prints could tell a story, and the way the narrative changed as we created different juxtapositions.
On the day they came to install, I learned a thing or two about the practical aspects of hanging a group of works, the actual nails and measuring, and I have now put the tips into practice in three houses and several arrangements, like this one in the dining room in Boulder.

When we moved into our new house, I had an immediate vision for a wall of art in the office, a more private room tucked away at the back of the house, where there was one large, blank wall. Because the scale of the wall was much larger than the ones I had worked with before, I knew it would take some careful planning. Now, there are entire books on the subject of hanging art displays, but I believe it is largely instinctive, a matter of personal preference in terms of both the aesthetics and, more importantly, what story you want to tell. Apart from feeling it out, there are a few steps that work for me. (You can do this in just a couple of hours, and it's really fun).
1. Choose your work
Most people don't have endless works of art to choose from. When making a grouping, you may just want to use everything you have--you chose each of the pieces, you can probably make them work together. If you do have more to choose from, look for commonalities that tie a group together, whether a color scheme or a subject theme. If there's no theme within the works, you probably want to limit yourself to one medium, say photographs, oil paintings, or works on paper. If all your pieces relate to the ocean (to choose a subject at random), you can much more easily mix a watercolor and a photograph. Keep in mind that the frames are a visual element, too. Some people will suggest framing everything uniformly, but I say, not necessary. You can use uniform frames as a way to make a statement- I once saw a long hallway filled with black and white photographs all framed in red, which packed a totally chic punch- but the general rule of thumb is to choose a frame that is right for the piece, not for a grouping or your room.
2. Plan your composition
This is the fun part. Take all the pieces your thinking of using, and lay them out on the floor. Move them around until it feels like they fit. I usually start with the largest piece, which I like to put somewhere near the middle for weight, and then let the smaller pieces radiate out from there.


I also think about balance in terms of light and dark, both in the piece and in the frame material, and the density of the image versus the amount of negative space. With a very large wall or a lot of pieces, it's also a good idea to think about creating pockets of order within the larger composition- incorporating pairs or using symmetry in placement, as I ultimately did here in the office.

With fewer pieces, you can create a sense of energy by playing against symmetry. Our final grouping in our Brooklyn dining room had three pieces hung "too high"- not everyone's cup of tea, but in the end I found it more interesting than if it was completely balanced. (And, i will admit, a happy accident-I used existing nails from a previous grouping for one or tow of the pieces on the right, and then just went with it.)

3. Mock it up
Once you have your arrangement set, take a picture: you'll need it for reference later. (It's also helpful to do this while planning your composition- you see things in the photograph that you may not see looking directly at the arrangement.) Now trace each piece on butcher paper, cut them out, and label them. With smaller walls I have generally skipped this step, though the results vary. In our Boulder dining room, one half of the arrangement ended up all scrunched up while the other half had more breathing room between pieces. Oops! I had to swap in a bigger piece on the left to make it feel more balanced.


When you have all your paper cut, refer to your photo and begin adhering the paper to the wall, using some of that sticky tack that won't leave a mark on the wall. It's a good idea to measure the overall dimensions of the arrangement in order to place the first piece on the wall, but eyeballing it should get you pretty close, too (I'm definitely an eyeballer). This is also a good chance to make any adjustments based on what you see in your photos from the floor layout. In our office, I realized that the little square piece at the top of the grouping was too disconnected from the piece around it when centered; I moved it off center towards the other square piece, and I like the energy this ended up giving things.


4. Hang it!
Take a picture of the mock up, too, and use it to finalize things. Without the distraction of the color in the artwork, you might see some wonky things in the layout. In our office, I didn't end up liking the single piece way on the right,kind of hanging out alone, and simply nixed it from the scheme. Make any final adjustments to the mock up, and get ready to hang. Measure the distance from the wire on the back of each piece to the top of the frame, then measure down from the top of the butcher paper to mark the spot for the nail or picture hook. Measure across the paper, too, to find the center. You can pound the nail in and then remove the paper, but if you want to save the paper for another use (fingerpainting!), I recommend hammering the nail in just enough to make a mark, then removing the paper and finishing up with the nail. Repeat. And repeat, repeat, repeat!
Here's the finished product in our office:

It is, by far, my favorite to date. I love the scale and the overall statement, the fact that I was able to collect all of our poster and text-based work into one place, and the accidental color story. But most of all, I like that every single piece here is significant to at least one of us, and most are significant to both of us. The Doug Aitken poster and the small flower drawing beneath it are from Creative time events; Sur Les Paves La Ferme is from the WORKac project at PS1, where Dave worked on the project and I edited the book; the target is from a day Dave spent at a shooting range for a bachelor party and the Fred Tomaselli newspaper print was a wedding present to both of us; the watercolor on the far left was made for Dave by the little boy he was an au pair for in Denmark, and there are three pieces by Clio incorporated, too. (Don't be afraid to mix amateur work in with the "real" art). It was a lot of work to hang this particular wall, especially since I actually did it right for once, but I have to say, I love the result, and the story that it tells about our lives together.
I say, go for it in your own house, and if you do, send me pictures to post!
On the day they came to install, I learned a thing or two about the practical aspects of hanging a group of works, the actual nails and measuring, and I have now put the tips into practice in three houses and several arrangements, like this one in the dining room in Boulder.

When we moved into our new house, I had an immediate vision for a wall of art in the office, a more private room tucked away at the back of the house, where there was one large, blank wall. Because the scale of the wall was much larger than the ones I had worked with before, I knew it would take some careful planning. Now, there are entire books on the subject of hanging art displays, but I believe it is largely instinctive, a matter of personal preference in terms of both the aesthetics and, more importantly, what story you want to tell. Apart from feeling it out, there are a few steps that work for me. (You can do this in just a couple of hours, and it's really fun).
1. Choose your work
Most people don't have endless works of art to choose from. When making a grouping, you may just want to use everything you have--you chose each of the pieces, you can probably make them work together. If you do have more to choose from, look for commonalities that tie a group together, whether a color scheme or a subject theme. If there's no theme within the works, you probably want to limit yourself to one medium, say photographs, oil paintings, or works on paper. If all your pieces relate to the ocean (to choose a subject at random), you can much more easily mix a watercolor and a photograph. Keep in mind that the frames are a visual element, too. Some people will suggest framing everything uniformly, but I say, not necessary. You can use uniform frames as a way to make a statement- I once saw a long hallway filled with black and white photographs all framed in red, which packed a totally chic punch- but the general rule of thumb is to choose a frame that is right for the piece, not for a grouping or your room.
2. Plan your composition
This is the fun part. Take all the pieces your thinking of using, and lay them out on the floor. Move them around until it feels like they fit. I usually start with the largest piece, which I like to put somewhere near the middle for weight, and then let the smaller pieces radiate out from there.


I also think about balance in terms of light and dark, both in the piece and in the frame material, and the density of the image versus the amount of negative space. With a very large wall or a lot of pieces, it's also a good idea to think about creating pockets of order within the larger composition- incorporating pairs or using symmetry in placement, as I ultimately did here in the office.
With fewer pieces, you can create a sense of energy by playing against symmetry. Our final grouping in our Brooklyn dining room had three pieces hung "too high"- not everyone's cup of tea, but in the end I found it more interesting than if it was completely balanced. (And, i will admit, a happy accident-I used existing nails from a previous grouping for one or tow of the pieces on the right, and then just went with it.)

3. Mock it up
Once you have your arrangement set, take a picture: you'll need it for reference later. (It's also helpful to do this while planning your composition- you see things in the photograph that you may not see looking directly at the arrangement.) Now trace each piece on butcher paper, cut them out, and label them. With smaller walls I have generally skipped this step, though the results vary. In our Boulder dining room, one half of the arrangement ended up all scrunched up while the other half had more breathing room between pieces. Oops! I had to swap in a bigger piece on the left to make it feel more balanced.


When you have all your paper cut, refer to your photo and begin adhering the paper to the wall, using some of that sticky tack that won't leave a mark on the wall. It's a good idea to measure the overall dimensions of the arrangement in order to place the first piece on the wall, but eyeballing it should get you pretty close, too (I'm definitely an eyeballer). This is also a good chance to make any adjustments based on what you see in your photos from the floor layout. In our office, I realized that the little square piece at the top of the grouping was too disconnected from the piece around it when centered; I moved it off center towards the other square piece, and I like the energy this ended up giving things.
4. Hang it!
Take a picture of the mock up, too, and use it to finalize things. Without the distraction of the color in the artwork, you might see some wonky things in the layout. In our office, I didn't end up liking the single piece way on the right,kind of hanging out alone, and simply nixed it from the scheme. Make any final adjustments to the mock up, and get ready to hang. Measure the distance from the wire on the back of each piece to the top of the frame, then measure down from the top of the butcher paper to mark the spot for the nail or picture hook. Measure across the paper, too, to find the center. You can pound the nail in and then remove the paper, but if you want to save the paper for another use (fingerpainting!), I recommend hammering the nail in just enough to make a mark, then removing the paper and finishing up with the nail. Repeat. And repeat, repeat, repeat!
Here's the finished product in our office:
It is, by far, my favorite to date. I love the scale and the overall statement, the fact that I was able to collect all of our poster and text-based work into one place, and the accidental color story. But most of all, I like that every single piece here is significant to at least one of us, and most are significant to both of us. The Doug Aitken poster and the small flower drawing beneath it are from Creative time events; Sur Les Paves La Ferme is from the WORKac project at PS1, where Dave worked on the project and I edited the book; the target is from a day Dave spent at a shooting range for a bachelor party and the Fred Tomaselli newspaper print was a wedding present to both of us; the watercolor on the far left was made for Dave by the little boy he was an au pair for in Denmark, and there are three pieces by Clio incorporated, too. (Don't be afraid to mix amateur work in with the "real" art). It was a lot of work to hang this particular wall, especially since I actually did it right for once, but I have to say, I love the result, and the story that it tells about our lives together.
I say, go for it in your own house, and if you do, send me pictures to post!
Subscribe to:
Posts (Atom)